Shaking a cocktail is an essential skill if you’re an aspiring mixologist or home bartender. It’s so easy to learn how to shake a cocktail the right way, so you get all the ingredients melded together deliciously.
Proper shaking also adds a touch of elegance if you’re showing off to guests or friends. This guide will take you step-by -step through mastering the art of cocktail shaking.
Why Shaking Matters
Shaking a cocktail is more than just a fancy flourish; it serves several purposes. The main reasons for shaking a cocktail are:
- Mixing Ingredients: Shaking allows for thorough mixing of ingredients, especially when you’re using thick ingredients like fruit juice, syrup, or cream.
- Dilution: Shaking with ice chills and dilutes the cocktail, which gives it the smooth taste the recipe intended.
- Aeration: Shaking introduces air into the cocktail, which can improve the texture and mouthfeel, especially in recipes that call for eggs or cream.
- Temperature Control: Shaking quickly cools down the cocktail, making it nice and chilly for serving.
Essential Equipment
You don’t need a lot of equipment for this, just the following.
- Cocktail Shaker: A two-piece shaker consisting of a metal tin and a separate strainer or a three-piece shaker with an integrated strainer.
- Ice: Always use fresh, high-quality ice cubes for shaking. They should be large enough to provide sufficient cooling and dilution without melting too quickly.
- Strainer: If you’re using a two-piece shaker, you’ll need a separate strainer to strain out the ice as you pour the cocktail.
Cocktail Shaking Techniques
Now that you have your equipment ready, let’s dive into the step-by-step process of shaking a cocktail like a pro:
Step 1: Measure and Prepare Ingredients
Start by measuring the ingredients of your cocktail according to the recipe. Get all your ingredients ready before you begin shaking.
Step 2: Add Ice to the Shaker
Fill your cocktail shaker with ice cubes. As a general rule, fill the shaker about two-thirds full with ice. Using too little ice can lead to not enough chilling and dilution, while using too much can make it hard for ingredients to mix.
Step 3: Combine Ingredients in the Shaker
Carefully pour your measured ingredients into the shaker over the ice. Be sure to follow the recipe instructions regarding the order of ingredients, if it specifies. Many don’t.
Step 4: Close and Seal the Shaker
Place the top part of the shaker over the base, and make sure the shaker is tightly sealed. If not, it could leak or, worse, come apart completely, spilling your cocktail ingredients and ice all over the place.
Step 5: Shake Vigorously
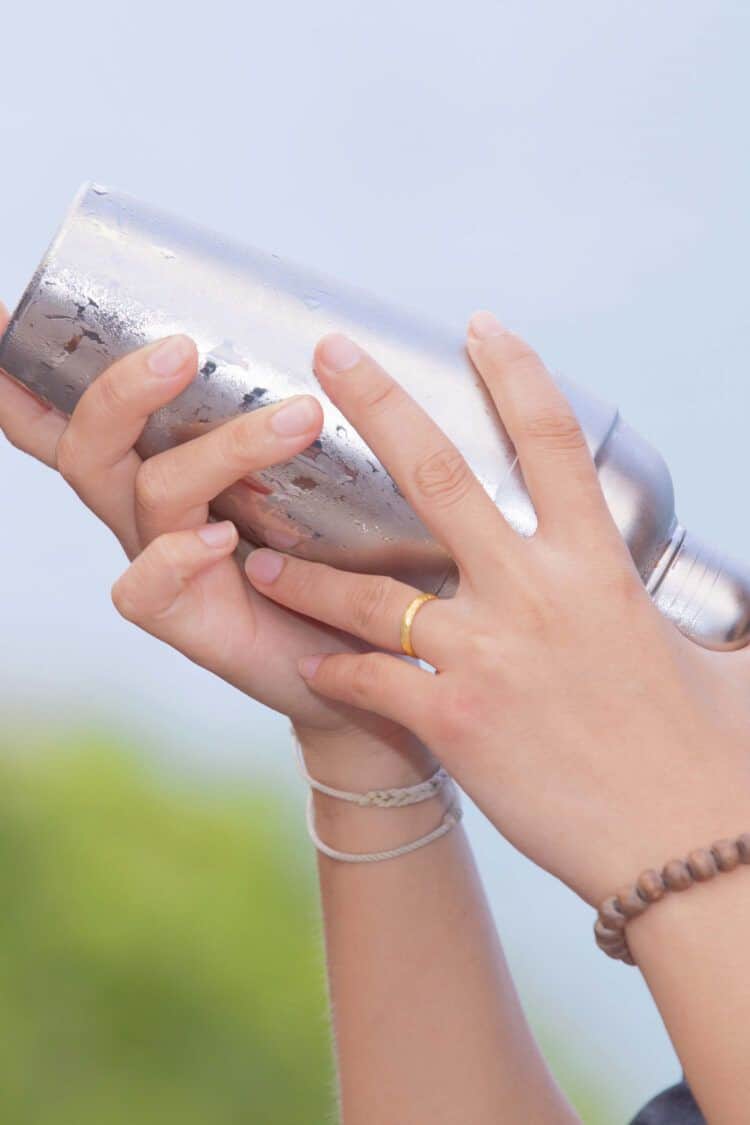
Hold the shaker firmly with both hands, one on the top and one on the base. Begin shaking the cocktail with a vigorous up-and-down motion, using controlled force. Shake for about 10-15 seconds, or until condensation forms on the outside of the shaker.
If the recipe says to shake longer, do it. 10-15 seconds is the minimum.
Step 6: Break the Seal
To open the shaker, hold the base firmly with one hand and tap the top part gently with the palm of your other hand. This will break the seal and allow for easy separation.
Step 7: Strain and Serve
If the recipe says to strain the drink, use the integrated strainer or add a strainer over the top, and pour directly into your glass.
If the recipe says to pour the drink, that means you’re supposed to use the ice from the shaker in the cocktail. Remove the strainer and pour everything in.
Tips for Perfect Cocktail Shaking
These tips will also help you improve your shaking.
- Consistency: Maintain a consistent shaking technique throughout. That will give you uniform mixing, dilution, and aeration.
- Rhythm: Develop a rhythm while shaking by counting in your head or following the beat of your favorite music. This will give you a smooth and controlled shake.
- Temperature Control: If you find your hands getting cold during shaking, consider using a cocktail shaker with an insulated sleeve or wear a towel or cocktail glove to protect your hands.
- Experiment: Don’t be afraid to experiment with different shaking techniques, such as the “hard shake” or “double shake,” for different textures and results.
- Practice: Like any skill, practice makes perfect. Keep practicing your shaking technique to refine your skills and develop your own signature style.
Common Mistakes to Avoid
Even experienced bartenders can make mistakes while shaking cocktails. Be aware of these common errors and avoid them for a flawless cocktail shaking experience:
- Over-shaking: Over-shaking can lead to excessive dilution and a watery cocktail. Shake just until the shaker is cold to the touch and condensation forms on the outside.
- Under-shaking: On the other hand, under-shaking can result in an unevenly mixed cocktail. Shake until all ingredients are thoroughly combined and chilled.
- Improper Seal: Make sure the shaker is tightly sealed before shaking to prevent any leaks. A loose seal can lead to spilled ingredients and a messy workspace.
- Inadequate Straining: Take care while straining to remove any ice shards or unwanted particles from the cocktail. Inadequate straining can affect the texture and presentation of the drink.
Remember, practice and experimentation are key to developing your own shaking technique. Enjoy the process, have fun, and raise a glass to your newfound cocktail shaking skills! Cheers!